What lifts off a sealed burner, and what stays put
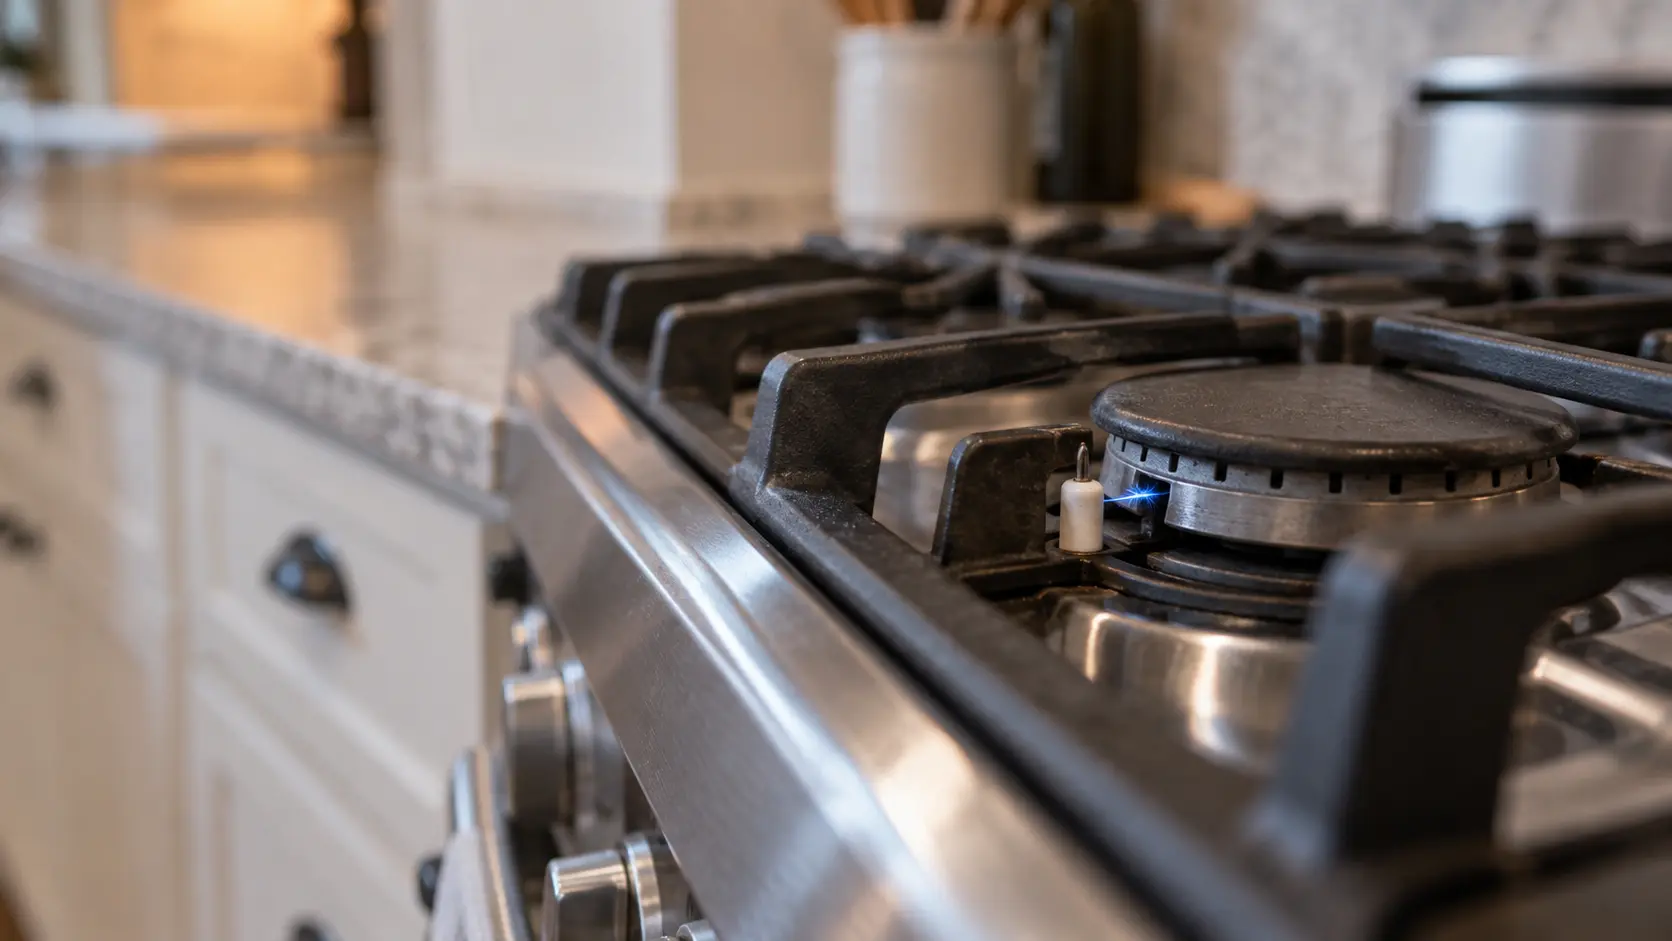
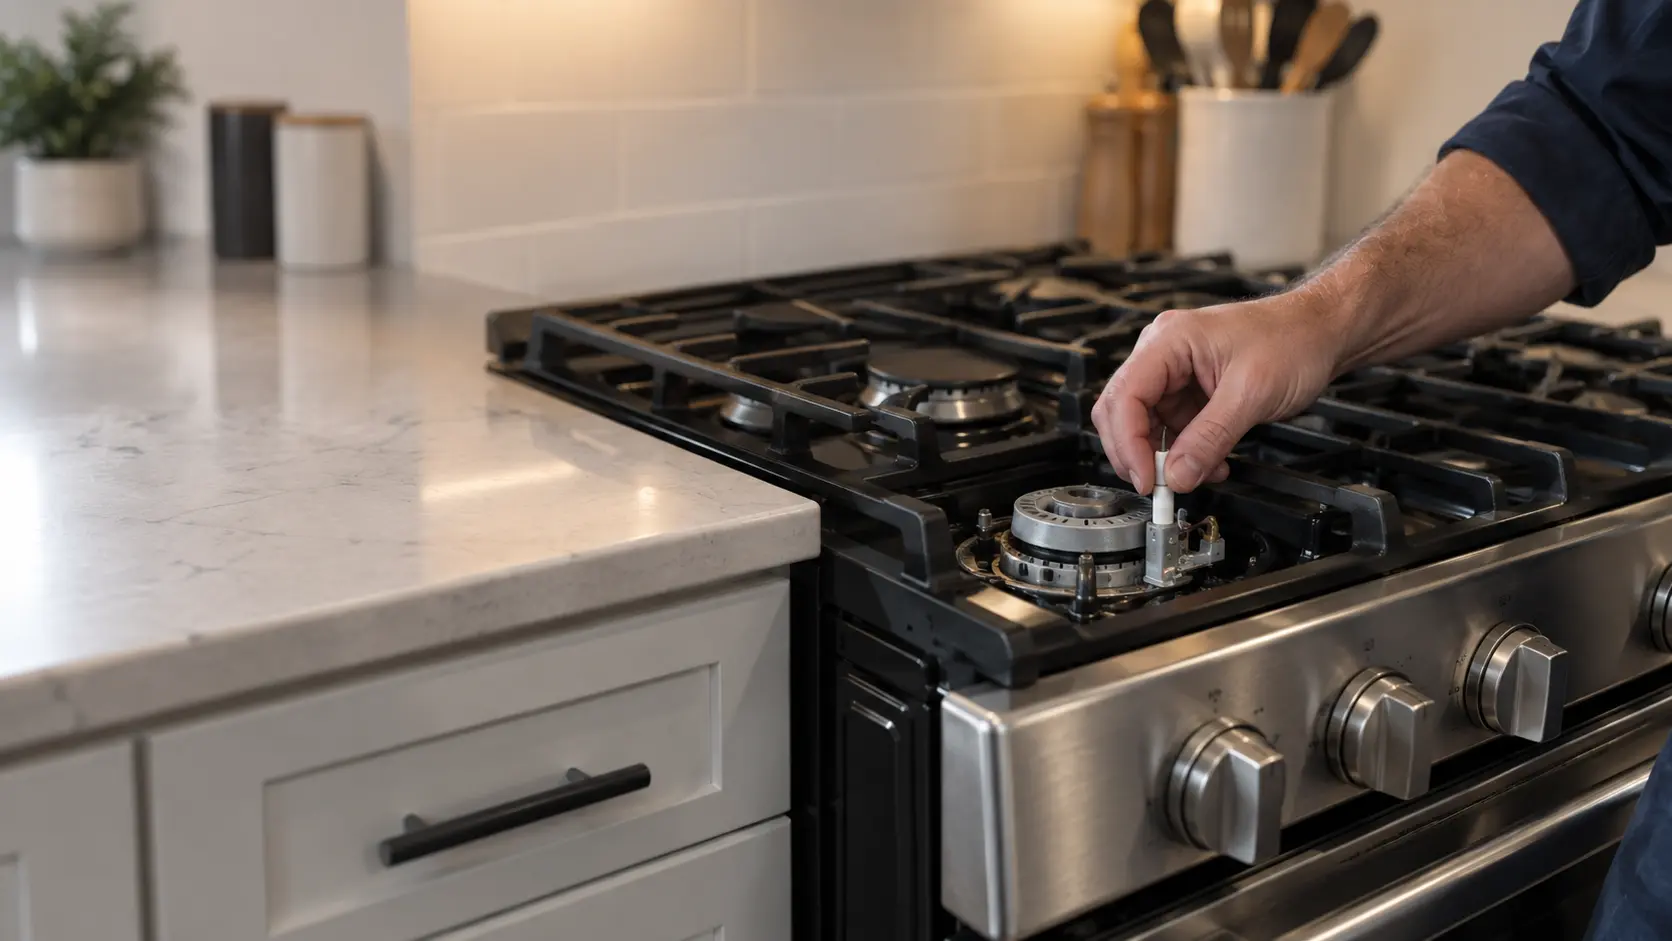
Most freestanding and slide-in gas ranges sold today have sealed burners: the burner sits on a raised base so spills stay on the top instead of dropping into the range. What you can remove by hand is the grate, the cap, and on many models the burner head or base underneath it. GE's cleaning steps start by taking off exactly those three.
Everything else stays where it is. The small white electrode beside each burner, the gas opening in the center of the base and anything held with a screw are not part of routine cleaning.
- Grate: cast iron or coated steel, lifts straight up.
- Cap: the flat or domed disc on top, usually enamel-coated.
- Head or base: the ring with the flame ports around its edge, lifted off on many models.
- Electrode: fixed in place, wiped but never removed.
- Gas tube opening: wiped around with a damp cloth, nothing pushed into it.
Open burners on older and some pro-style ranges
Some ranges use open burners with no sealed base, so spills can drop into a pan below the top. GE publishes separate cleaning steps for open and sealed designs, and your owner's manual shows which you have. On open burners, lift out only what the manual names as removable.
Source: Whirlpool — Surface burner ports (gas range) — Controls off and top cool before cleaning; no oven cleaners, bleach or rust removers; clean the gas tube opening with a damp cloth; clear ports with a straight pin, needle or small-gauge wire, never a wooden toothpick, and do not enlarge or distort them; GE Appliances — Common causes for slow ignition, no ignition or clicking on surface burners — Disconnect power before cleaning; separate cleaning steps for open and sealed burners; remove grates, caps and heads; dry parts in air or a warm oven for 30 minutes; press an unseated electrode down with a clockwise twist; cap lies flat on its matching head
Before you start
Turn every knob to off and let the top cool completely; Whirlpool asks for both before any burner cleaning. GE adds that the range should be disconnected from power first, which on most ranges means pulling the plug behind the storage drawer or switching off its breaker, so an accidental knob turn cannot start the igniters sparking at your fingers.
Lay a towel beside the range and set the parts out in the same positions they came from. Four caps that look almost alike are easy to mix up once they are wet.
What not to use
Whirlpool rules out oven cleaner, bleach and rust removers on burner parts. It also warns that acidic spills such as tomato sauce or vinegar can mark the finish and should be cleaned off once the top cools, and that caps and grates should not be knocked against each other or against cast iron cookware, which chips the enamel.
Source: Whirlpool — Surface burner ports (gas range) — Controls off and top cool before cleaning; no oven cleaners, bleach or rust removers; clean the gas tube opening with a damp cloth; clear ports with a straight pin, needle or small-gauge wire, never a wooden toothpick, and do not enlarge or distort them; GE Appliances — Common causes for slow ignition, no ignition or clicking on surface burners — Disconnect power before cleaning; separate cleaning steps for open and sealed burners; remove grates, caps and heads; dry parts in air or a warm oven for 30 minutes; press an unseated electrode down with a clockwise twist; cap lies flat on its matching head

Washing caps, heads and grates
To clean burner caps and grates, Whirlpool recommends a mild abrasive cleaner with a nonabrasive scrubbing pad and warm water. Soak anything with burned-on food first rather than working harder at it. Caps go in the sink, not the dishwasher, and neither caps nor grates belong in the oven during a self-clean cycle.
Some grates can go through a dishwasher on its most aggressive cycle, according to Whirlpool, but only if your owner's manual says so, and heavy soil should be soaked or scrubbed off first.
Clearing the flame ports
The row of slots or holes around the head is where the flame comes out, and the one facing the electrode is where it first lights. Whirlpool's instruction is to clear clogged ports with a straight pin, a needle or a fine wire; GE suggests a needle or a straightened paper clip. Push straight in and out without twisting, because an enlarged or bent port changes the flame, and never use a wooden toothpick that can snap off inside.
Source: Whirlpool — Cleaning burner grates and caps (gas range) — Clean acidic spills when cool; do not bang caps and grates together or on cast iron; mild abrasive cleaner, nonabrasive scrubbing and warm water; some grates dishwasher safe per the manual on the most aggressive cycle; caps not dishwasher safe; not in self-clean; do not reinstall caps wet; match marks, alignment pins, flush with little side-to-side movement
Drying is the step that decides everything
Water left in the ports or under a cap is the reason a burner clicks endlessly after a thorough cleaning. GE's advice is to shake out the parts, then let them air dry or set them in a warm oven for about 30 minutes. Whirlpool is equally direct: do not reinstall caps while they are wet.
If the top itself got wet around the electrodes, give it time as well. Cool air from a hair dryer aimed at the burner area and around the knob shafts shortens the wait, as Whirlpool suggests for a burner that keeps clicking after cleaning.
Source: Whirlpool — Cleaning burner grates and caps (gas range) — Clean acidic spills when cool; do not bang caps and grates together or on cast iron; mild abrasive cleaner, nonabrasive scrubbing and warm water; some grates dishwasher safe per the manual on the most aggressive cycle; caps not dishwasher safe; not in self-clean; do not reinstall caps wet; match marks, alignment pins, flush with little side-to-side movement; GE Appliances — Common causes for slow ignition, no ignition or clicking on surface burners — Disconnect power before cleaning; separate cleaning steps for open and sealed burners; remove grates, caps and heads; dry parts in air or a warm oven for 30 minutes; press an unseated electrode down with a clockwise twist; cap lies flat on its matching head; Whirlpool — Surface burner(s) sparking or clicking — Burners damp from cleaning click; dry them with cool air from a hair dryer on the burner and knob shaft area
Setting each cap back on its own base
Put the heads back first, each in its original position, then the caps. Whirlpool notes that the base and the underside of the cap may carry a matching mark and that alignment pins must line up; a correctly seated cap sits flush and moves very little from side to side. GE's test is simply that the cap lies flat and feels secure.
Glance at each electrode while the caps are off. If one is standing higher than it should, GE describes pressing it down with a gentle clockwise twist until it sits flush. Then reconnect power, put the grates back and light each burner in turn.
- Even blue ring: cap and head seated correctly.
- Missing flames in one spot: a port still blocked.
- Lopsided flame or no light: cap on the wrong base or tilted on a pin.
- Orange flecks: often minerals in the air from a humidifier, not the burner.
Reading the flame after reassembly
Each burner should light within a few clicks and burn in an even ring of blue all the way around. A gap in the ring points to a port that is still blocked; a flame that is tall on one side and short on the other usually means the cap is not flat.
Source: Whirlpool — Cleaning burner grates and caps (gas range) — Clean acidic spills when cool; do not bang caps and grates together or on cast iron; mild abrasive cleaner, nonabrasive scrubbing and warm water; some grates dishwasher safe per the manual on the most aggressive cycle; caps not dishwasher safe; not in self-clean; do not reinstall caps wet; match marks, alignment pins, flush with little side-to-side movement; GE Appliances — Common causes for slow ignition, no ignition or clicking on surface burners — Disconnect power before cleaning; separate cleaning steps for open and sealed burners; remove grates, caps and heads; dry parts in air or a warm oven for 30 minutes; press an unseated electrode down with a clockwise twist; cap lies flat on its matching head; Whirlpool — Burner flames abnormal colors (natural gas) — Minerals from an ultrasonic humidifier color the flame orange or red; routinely remove and clean the caps and always after a spillover