What makes a range fall forward
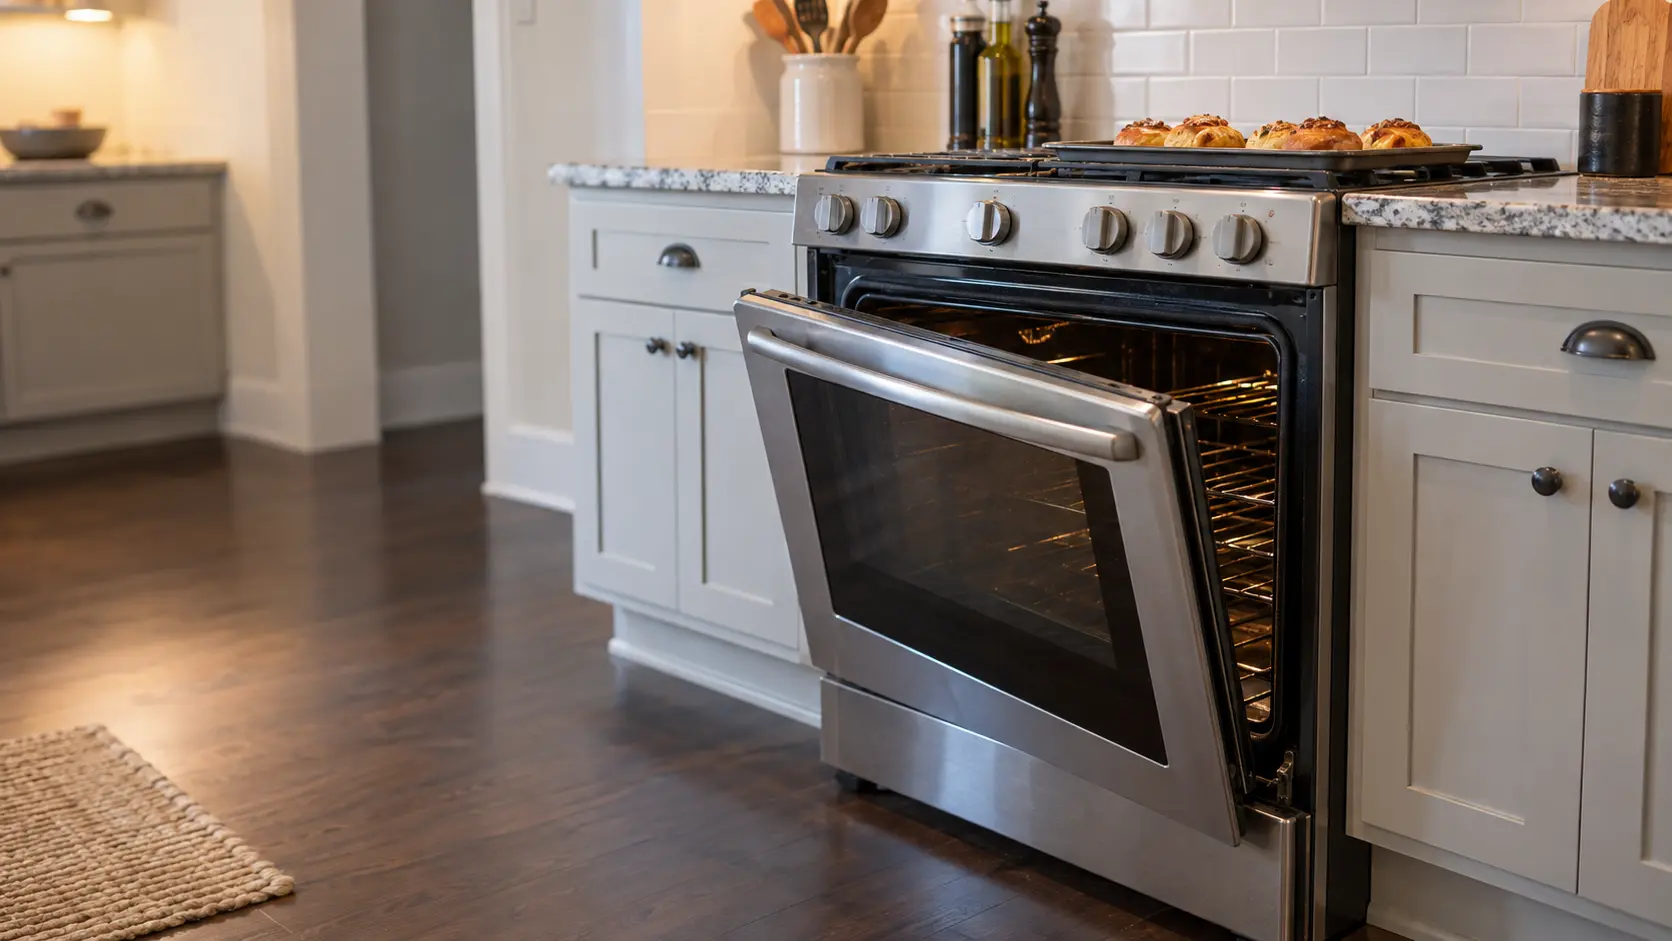
A freestanding or slide-in range is heavy, but its weight sits over a small footprint and the oven door hinges out from the bottom edge. Put enough load on the open door and the range pivots on its front feet. CPSC's review of range tip-over incidents found two things in common: the range was not secured to the wall, floor or cabinet, and enough weight went onto the open door to tip it.
The load does not have to be large. A child standing on the door to reach the back of the range top, an adult leaning on it to get up, or a heavy roasting pan rested on it while a rack is moved can all be enough. When the range goes, whatever was on the burners goes with it, which is why CPSC found that most tip-over injuries were burns from hot liquids. Its everyday advice is short:
- Keep children out of the kitchen unless someone is watching them, and turn pot handles toward the back.
- Move cookie jars and other tempting things away from the range so nobody climbs the door to reach them.
- Never set heavy food or dishes on an open oven door.
- Do not press down on the open door or use it to push yourself up.
The numbers behind the warning
CPSC staff counted 38 deaths associated with range tip-overs from 1980 through 2008, and 20 of them, 53 percent, were children between one and five years old. Its 2011 safety alert also estimated an average of 1,700 emergency room injuries a year from appliance instability and tip-over in 2006 through 2008.
Source: CPSC — Range Tipover Safety Alert: Check, Install, and Stay Safe (Publication 5007) — Estimated 1,700 appliance instability and tip-over injuries a year, 2006–2008; supervise children, turn pot handles inward, move tempting items, no heavy items or pressing on an open oven door; CPSC — Free Standing Kitchen Ranges — 38 tip-over deaths 1980–2008, 20 (53%) children aged one to five; most injuries were burns from spilled hot liquids; incidents involved unsecured ranges and weight on the open door
What the bracket looks like and where it sits
CPSC describes the usual bracket as a fork-shaped piece of metal fixed where the floor meets the wall behind the range; a rear leveling leg slides into it as the range is pushed home. Other models use a bracket screwed to the wall that catches the back of the range. Both do the same job, and both only work while the range is pushed fully back into them.
The bracket arrives with the range. Whirlpool tapes its bracket inside the storage or warming drawer, with two screws, and notes that thicker flooring may call for longer screws. GE's installation instructions tell buyers who did not receive one that GE will send one at no cost. A missing bracket is therefore a matter of fitting, not of shopping.
Slide-in ranges need one too
The sides of a slide-in range sit tight between cabinets and its top edges may rest on the counter, which can make it feel anchored. GE's owner's manual gives the same tip-over warning for free-standing and slide-in ranges alike, so neither the cabinets nor the countertop take the place of the bracket.
Ranges made before and after 1991
For a range built after 1991 that has no bracket, CPSC suggests asking the retailer, property manager or builder to install one, or ordering a replacement from the manufacturer. For one built before 1991, ask the manufacturer whether a retrofit device exists for that model.
Source: CPSC — Tips on Checking your Range's Stability — Brackets required with new ranges since 1991; fork-shaped floor bracket or wall bracket; flashlight and drawer check; more than an inch of tilt means not engaged; what to do for ranges made before and after 1991; Whirlpool — Installation Instructions, 30-inch Freestanding Gas Ranges (W10658550B), archived whirlpool.com copy — Bracket taped inside the storage or warming drawer, two screws; thicker flooring may need longer screws; re-engage if moved; foot may not engage if the range is more than 2 inches from the wall; GE Appliances — Installation Instructions, Gas Range (31-2001181) — Buyers who did not receive an anti-tip bracket can obtain one from GE at no cost

Checking the bracket with nothing but a flashlight
CPSC and the manufacturers describe the same checks. Do them with the oven, the range top and any drawer completely cool, and with pots, kettles and anything inside the oven removed first.
- Pull the storage drawer out, or lift it free if it comes out, and shine a light underneath: one rear foot should sit inside the bracket.
- If the drawer does not come out, look behind the range with the light for a bracket on the wall or floor.
- Grip the back of the range, or the control panel on models with rear controls, and slowly try to tilt it toward you.
- Firm resistance at once means the foot is held; a range that keeps tilting means it is not.
Reading the tilt test
CPSC counts more than an inch of tilt as a failed check. Whirlpool's version is stricter: if the rear of the range lifts more than half an inch without resistance, stop, lower it gently and treat the foot as not engaged, and listen for a snap or pop while lifting, which suggests it is only partly in the bracket. If tilting a range makes you uneasy, have a technician do the check.
Source: CPSC — Tips on Checking your Range's Stability — Brackets required with new ranges since 1991; fork-shaped floor bracket or wall bracket; flashlight and drawer check; more than an inch of tilt means not engaged; what to do for ranges made before and after 1991; Whirlpool — How to Check the Anti-Tip Bracket Installation — Remove the storage drawer and look for the rear foot in the bracket; tilt test from the control panel or back; more than 1/2 inch lift without resistance means not engaged; a snap or pop means it may not be fully engaged
Why a bracket that was fitted stops working
The usual reason is simple: the range was pulled out and pushed back without the foot finding the slot. Every manual we cite repeats the instruction to re-engage the bracket whenever the range is moved, because cleaning behind it, reaching the gas valve or laying a new floor all slide the foot out.
Whirlpool names a less obvious cause as well. If the back of the range ends up more than 2 inches from the mounting wall, the rear foot may not reach the bracket at all. GE adds that the leveling legs must never be removed completely, because the bracket holds the leg itself.
- The range was moved and the foot missed the slot on the way back.
- Something behind the range, such as a bunched gas connector or a power cord, holds it too far from the wall.
- A leveling leg was taken out or screwed right up while the range was being leveled.
- The screws went into thin flooring or drywall and have worked loose.
Source: Whirlpool — Installation Instructions, 30-inch Freestanding Gas Ranges (W10658550B), archived whirlpool.com copy — Bracket taped inside the storage or warming drawer, two screws; thicker flooring may need longer screws; re-engage if moved; foot may not engage if the range is more than 2 inches from the wall; GE Appliances — Owner's Manual, Electric Free-Standing Ranges (49-2000951) — Anti-tip warning applies to free-standing and slide-in ranges; repeat the check whenever the range is pulled out; never completely remove the leveling legs
When the fix arrives through a recall
Tip-over risk has driven range recalls. In December 2021 GE Appliances recalled about 132,000 free-standing and slide-in ranges in the US for repair, because they could tip when a heavy object was placed on the open door and the bracket was not secured; the remedy was a free in-home inspection of the bracket. CPSC publishes such notices on its recalls pages, searchable by brand and product.
Searching those notices for your brand takes a minute and is worth doing with the model number in hand. Whenever a repair of ours means sliding a range out, the technician pushes it back into the bracket and repeats the tilt check before leaving.
Source: CPSC — GE Appliances recalls to repair free-standing and slide-in ranges due to tip-over hazard — December 2021 recall of about 132,000 ranges; tip-over when a heavy object is on the open door and the bracket is not secured; remedy a free in-home bracket inspection